Categories
- Blog (315)
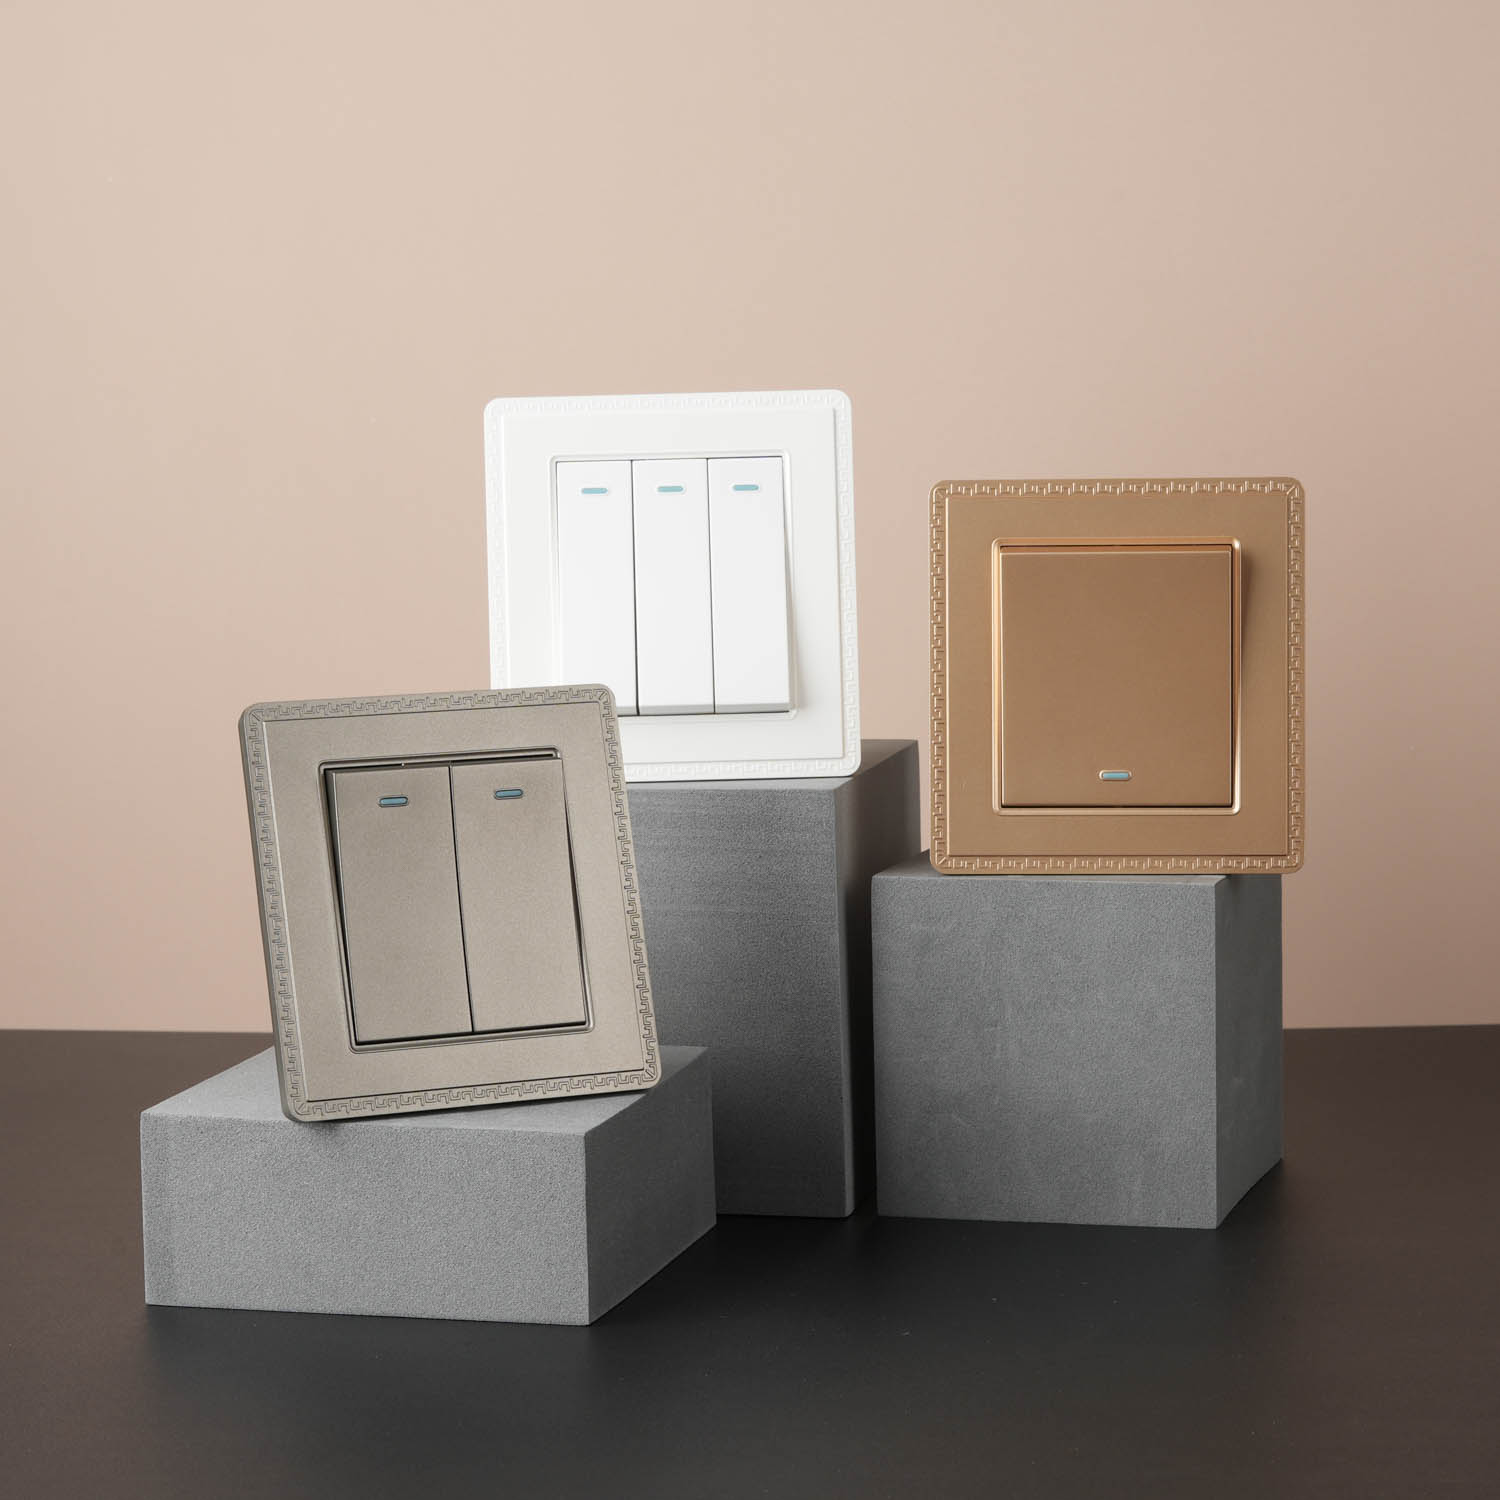
While it requires some familiarity with electrical systems and safety precautions, the process provides an opportunity to customize and install switches tailored to your specific needs. Here’s a step-by-step guide to assembling your own wall switches.

#1. Gather the Necessary Tools and Materials
Before commencing the assembly, gather the essential tools and materials required for the project. This typically includes a flathead screwdriver, wire stripper, voltage tester, electrical tape, the chosen switch mechanism, an appropriate wall plate, and, if necessary, additional wiring or connectors.
#2. Ensure Safety First
Prioritize safety by turning off the power supply to the area where the switch will be installed. Using a voltage tester, confirm that there is no electricity running through the circuit to prevent any accidental shocks or short circuits during the assembly process.
#3. Prepare the Wiring
If you’re replacing an existing switch, carefully remove the cover plate and the switch itself. Take note of which wires are connected to which terminals on the old switch. If this is a new installation, ensure that the wiring is properly set up and meets local electrical codes.
#4. Connect the Wires
Using the wire stripper, carefully expose a small portion of the wire ends to create clean contact areas. Depending on the type of switch, you may need to connect one or more live wires, neutral wires, and ground wires to their respective terminals on the new switch. Follow the manufacturer’s instructions closely to ensure correct wiring.
#5. Secure the Switch in Place
Once the wiring is complete, gently tuck the wires into the junction box and carefully affix the switch to the box using the provided screws. Double-check that all connections are secure and free from any exposed wires.
#6. Test the Functionality
After securing the switch, restore the power supply and conduct a test to ensure that the newly assembled switch operates as intended. Verify that the switch can effectively control the connected lighting or appliances.
#7. Install the Wall Plate
Upon successful testing, affix the matching wall plate onto the switch to complete the assembly. Ensure that the wall plate is aligned correctly and firmly secured to the wall, providing a polished finish to the installation.
Assembling your own wall switches not only allows for customization but also fosters a deeper understanding of your home’s electrical infrastructure. However, if you encounter any challenges or uncertainties during the process, seeking advice from a professional electrician or contacting the wall switch manufacturer can provide invaluable assistance, ensuring that the final installation meets safety standards and functions reliably for years to come.