Categories
- Blog (315)
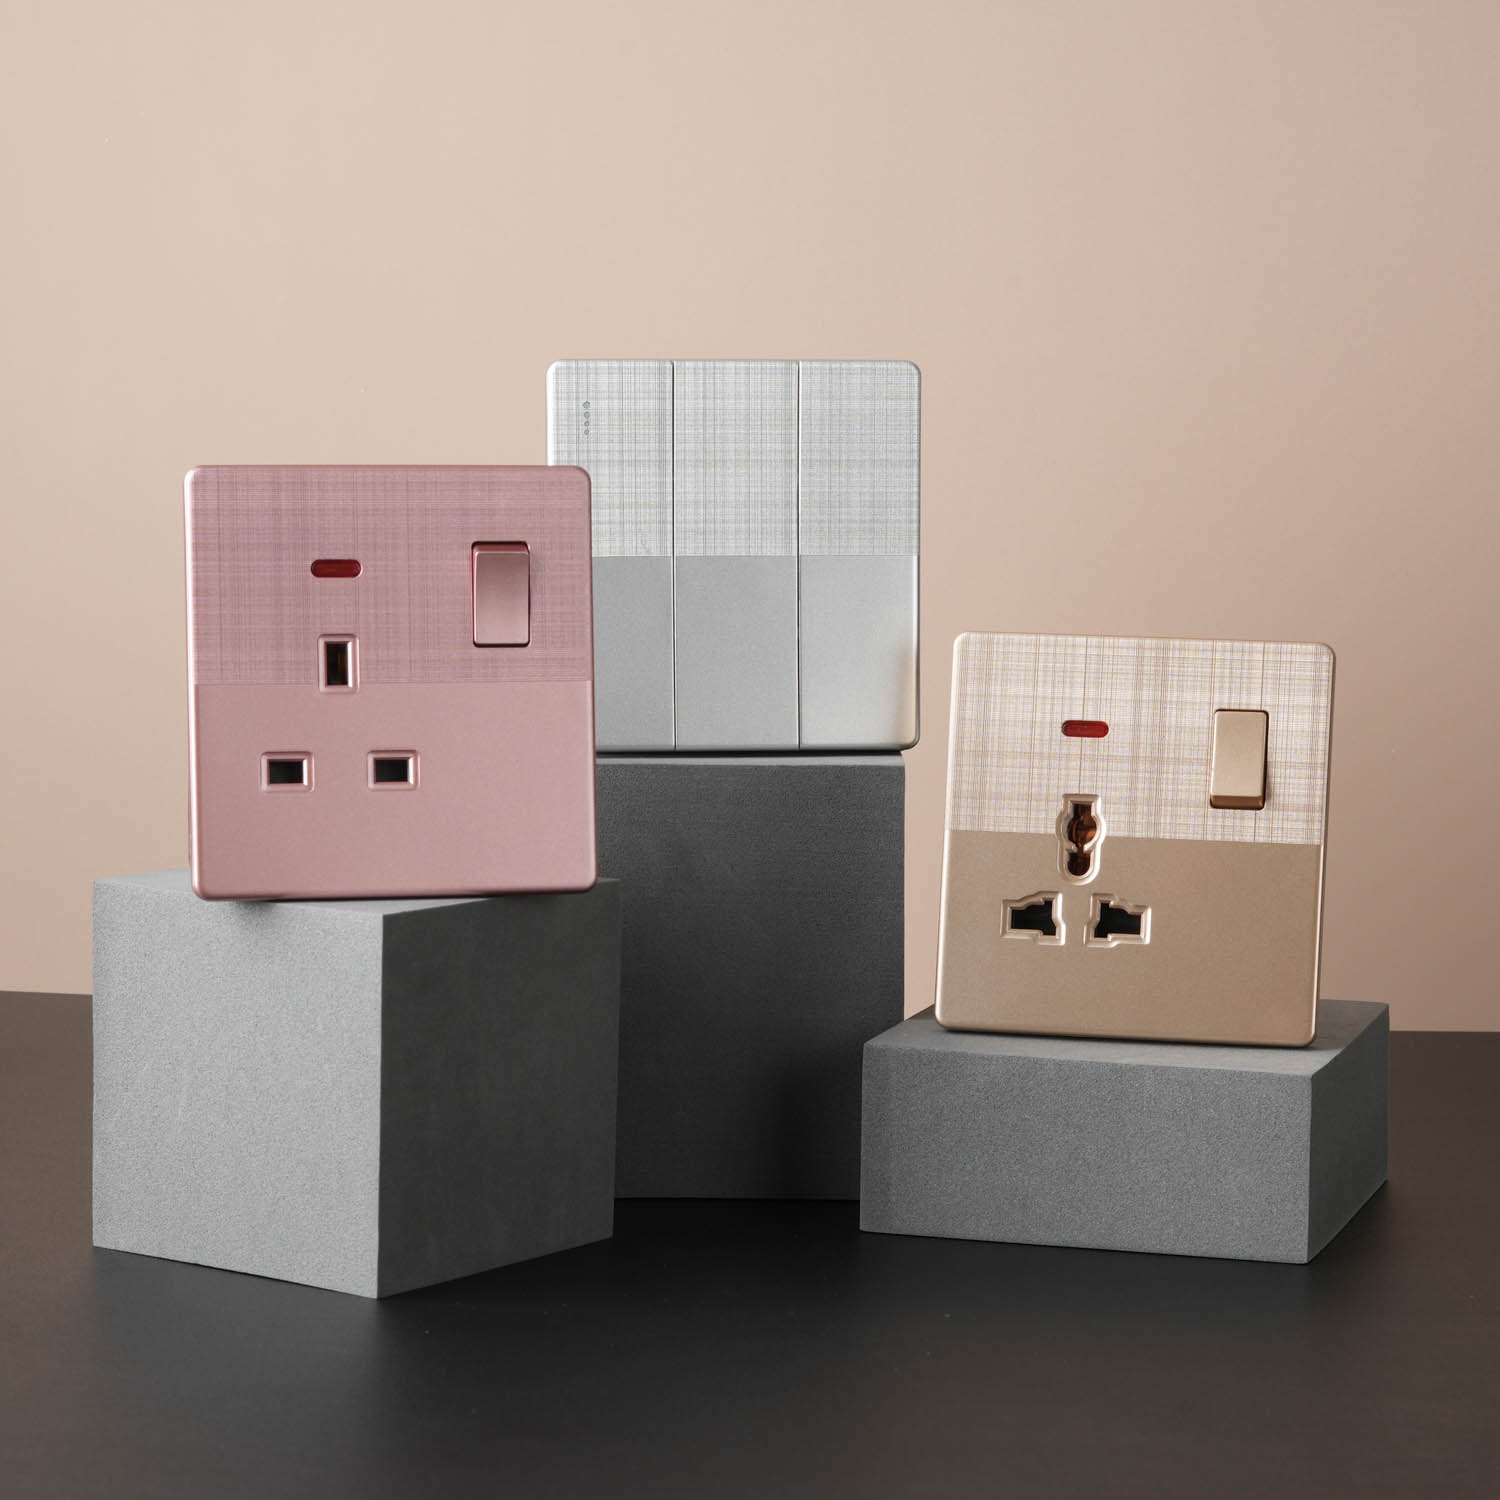
From wall switch factory to electric switch socket manufacturers, understanding switch manufacturing and design can help you install and use them better.

Step 1: Choose the appropriate type
Before installing a switch, you first need to choose the type that suits your needs. This may include single-pole switches, bipolar switches, three-way switc hes, etc. Make sure you understand the features of each type and their best use in the home.
Step 2: Turn off the power
Before starting any installation work, always turn off the power to the area concerned. Safety is the first consideration. Make sure the power is off and no current is flowing through a test meter before proceeding to the next step.
Step 3: Wiring sequence
Proper wiring is critical to the function of the switch. When connecting wires, follow proper color coding and connection guidelines. If you are unsure, seek professional help.
Step 4: Pay attention to safety
Throughout the installation process, always pay attention to safety. Make sure all wires are connected securely and away from wet areas. If you need to drill holes to install the switch base, make sure you know the wiring layout and location inside the wall.
Step 5: Test and Verify
After completing the installation, turn the power back on and test that the switch is working properly. At the same time, check whether the sockets and panels around the switch board are firmly installed, and whether the switch action is flexible and reliable.
From the design of the wall switch factory to the production of the electric switch socket manufacturers, every link affects the actual use of the switch. By understanding these processes, and following the correct installation steps, you can ensure that your home switch will perform well for future use.